Introduction
A few months ago, I deployed an AngularJS app called SeafoodCheck on an Amazon EC2 instance. It wasn’t a trivial task and I had to go through various tutorial and stackoverflow pages to get it working. To help people in similar positions as I was, I created this “Deploying an AngularJS app to Amazon EC2” tutorial.
This serves as the Part I of this tutorial aiming to provide a step by step guide in getting an Amazon EC2 instance set up for those who have little experience of AWS. It can also be served as a stand alone tutorial for those who are just interested in learning how to create an AWS account and getting an EC2 instance setup.
Prerequisites
- Know how to execute commands in a shell
Setting up Amazon EC2
Amazon EC2 (Elastic Compute Cloud) is a virtual computer in the cloud that can run user’s own computer applications. EC2 is one of the most popular services provided by Amazon Web Services (AWS). AWS provides a large list of services related to cloud computing. With the right environment setup, we can run our AngularJS app on an Amazon EC2 instance. Let’s set up our Amazon EC2. There are two steps to set up an EC2 instance if you are new to AWS.
Create an AWS account
First, you need to create an AWS account. Follow the following steps.
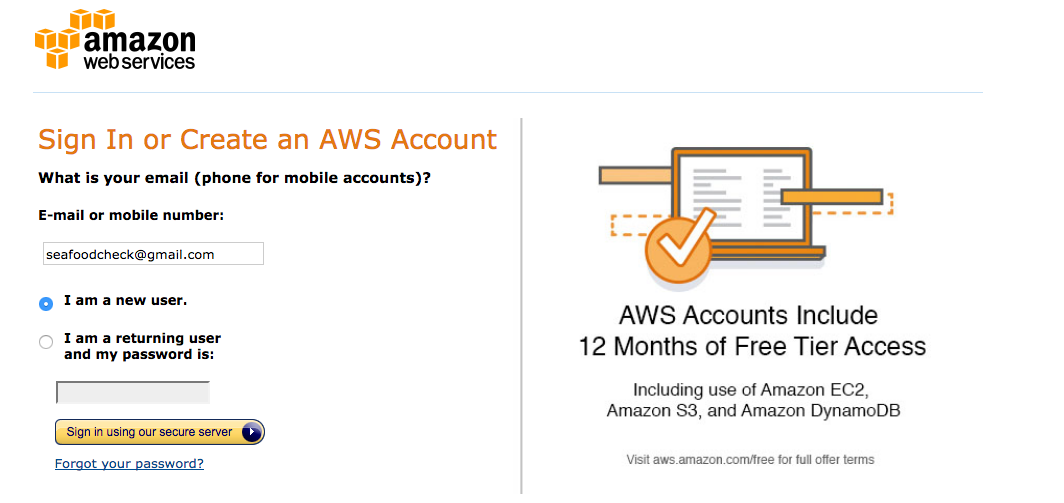
- Go to AWS and click Create an AWS account.
- Type in your email, choose I am a new user, and click Sign in using our secure server.
- Fill out your name and password and click create account
- Choose Personal Account and fill out required information
- Fill out credit card info. You won’t be charged for the first 12 months if you fall into the free tier. Complete this tutorial should not get your charged at least for the first 12 months if you are new to AWS and only run this instance.
- Complete Indentity Verification by providing a valid phone number for an automated phone call where you will need to enter in a 4 digit code shown on the screen.
- In the Support Plan, choose Basic so there won’t be extra charge.
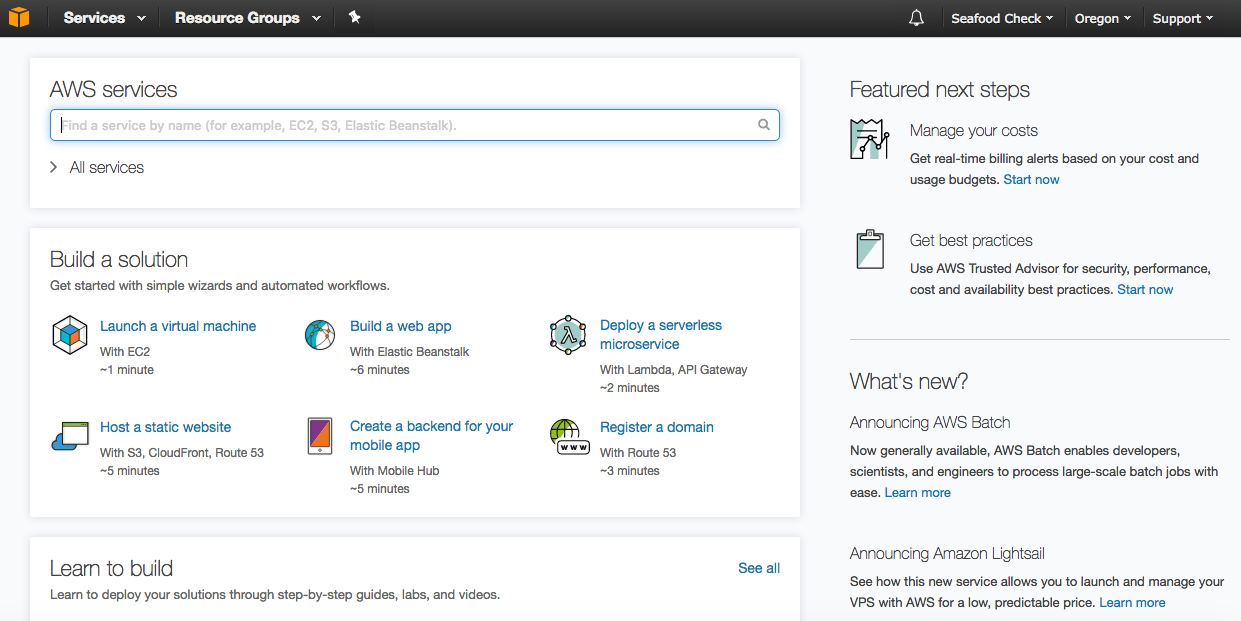
- Click Complete Sign Up. It will redirect you to the login page and now you should see the following AWS home page.
Create an EC2 instance and connect to it
Second, let’s create an EC2 instance.
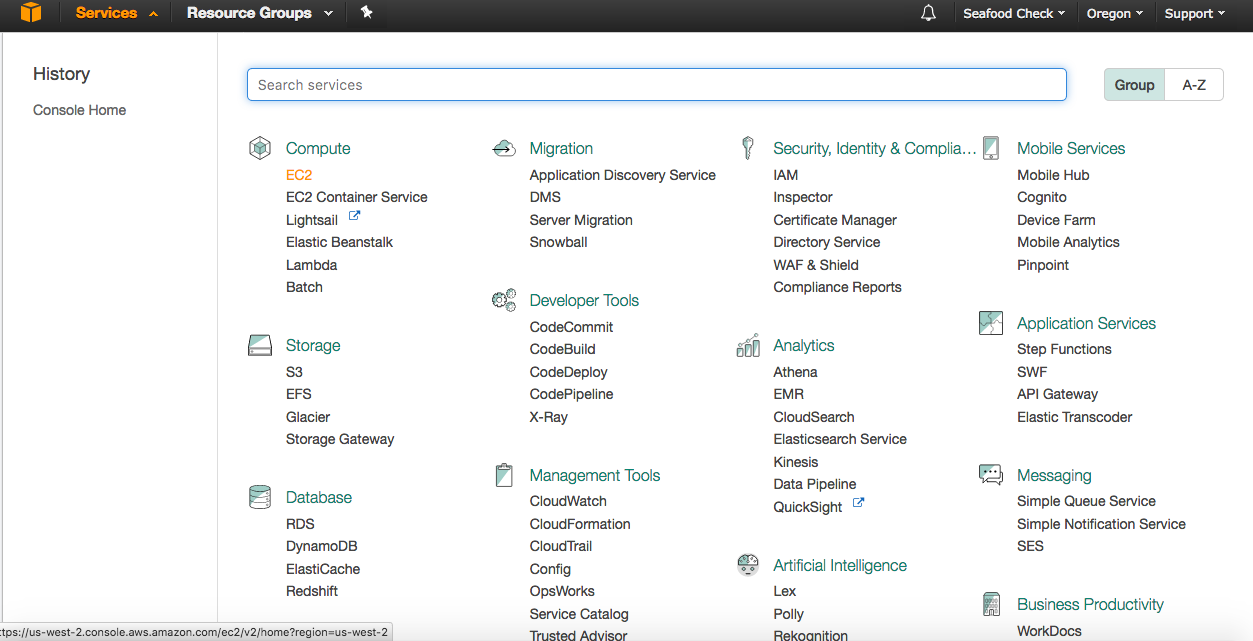
- Click Services on the top left menu, then click EC2
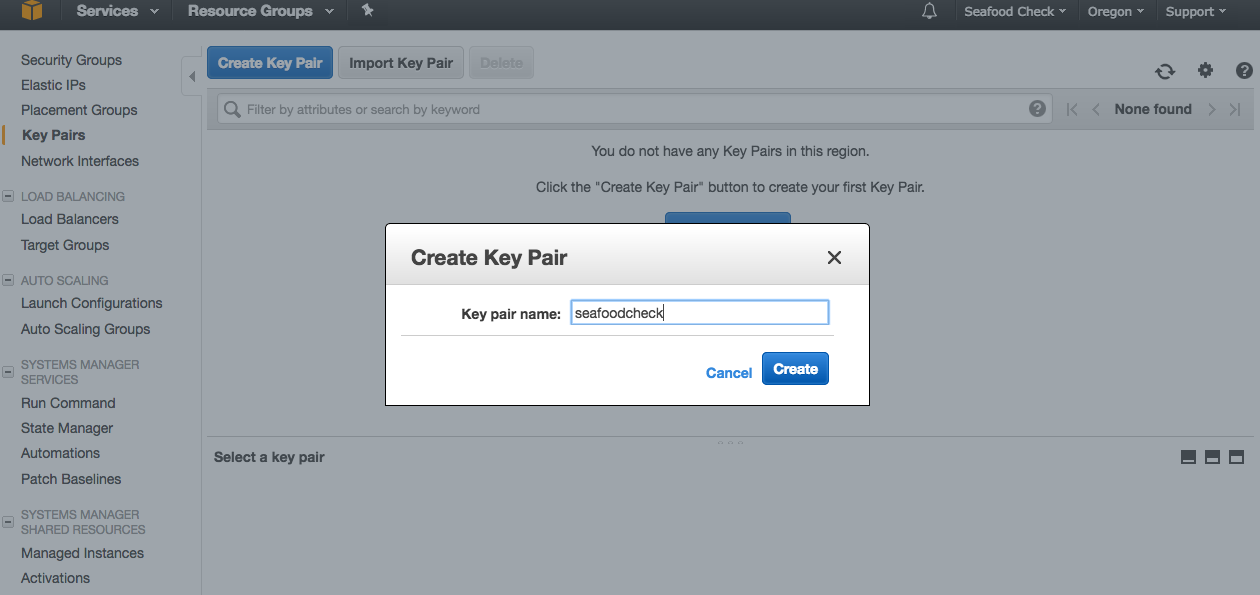
- Create a Key Pair by first clicking Key Pairs in the NETWORK & SECURITY section on the left verticl menu. Then Create Key Pair, type in your app name and click Create. Save the .pem file. Please don’t lose this file. You have only this chance to download it and you’ll need it to access your EC2 instance. Also note which region you created your key in. It’s shown on the top right of the navigation bar near Support. The default region for me was Oregon.
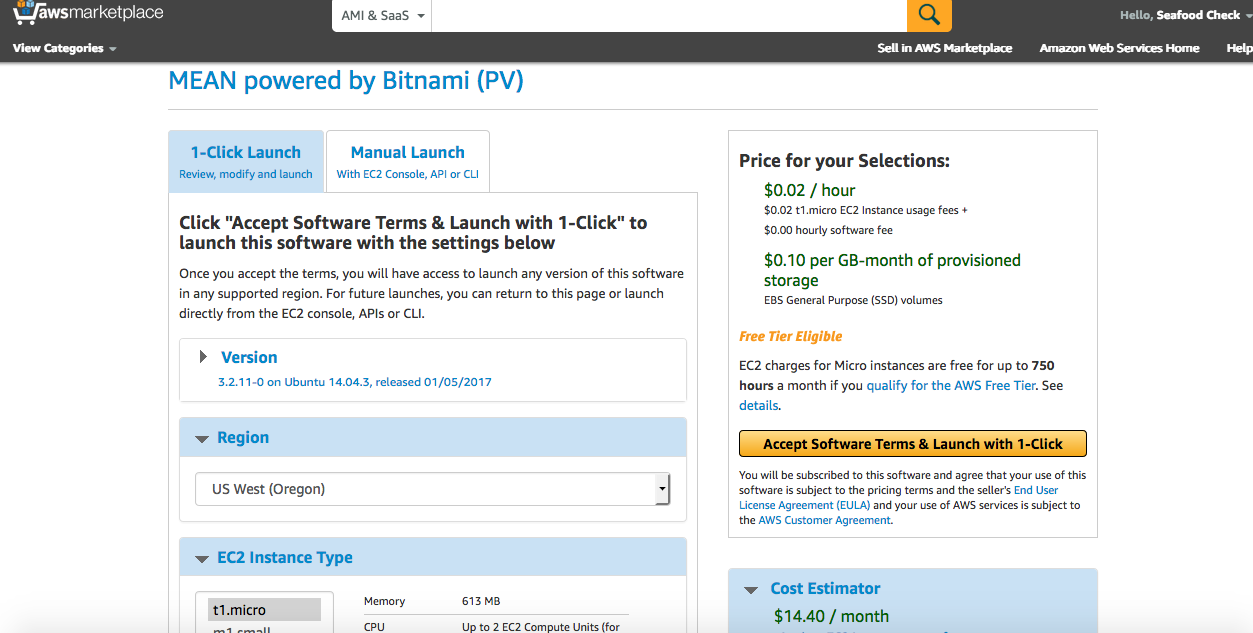
- Go to AWS Marketplace, in the search bar, type Bitnami MEAN image, click on the search results, and you should see the following. Choose a region that you created your key in (mine was Oregon) and click Continue.

- Choose 1-Click Launch, make sure you are selecting t1.micro for the EC2 Instance Type. Click Accept Software Terms & Launch with 1-Click.
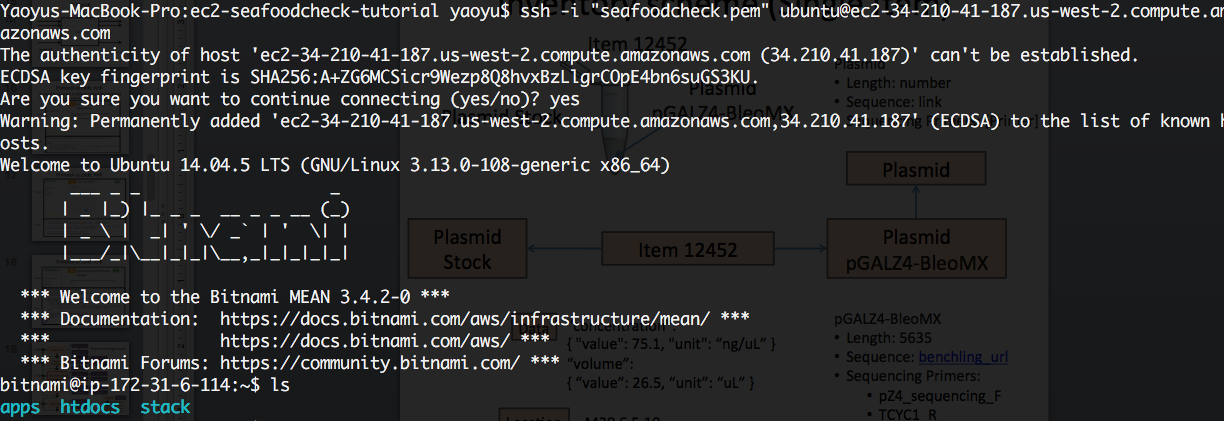
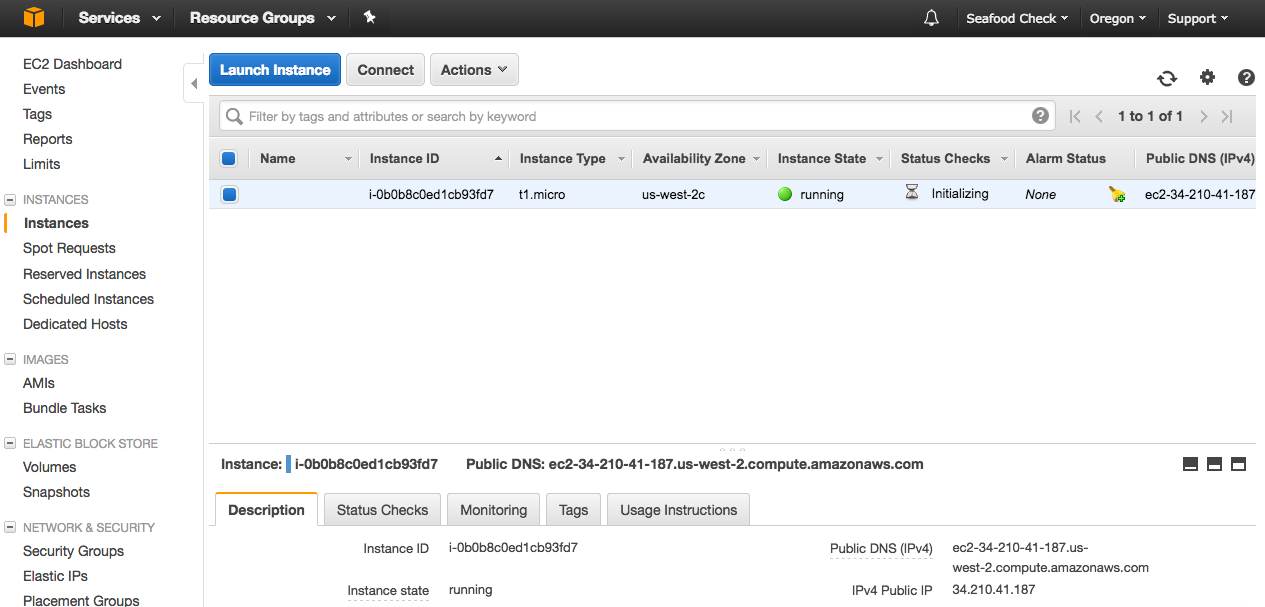
- Now go back to your AWS management console, click EC2, and you should see that you have 1 running instance. You have successfully created an EC2 instance! Click Connect button near Lanuch Instance button. AWS provides you a step by step instruction for how to connect to this instance using ssh, providing that you have access to an Unix or Unix-like shell. Follow it and you should be able ssh into your instance on AWS! Check this tutorial if you have a PC running Windows.
- Now you should be connected to your EC2 instance with a fully loaded Linux machine at your disposal! Congratualations on acheiving this step!